
article name 10 Amazing Alcohol Ink Techniques for Beginners: A Complete Guide to Alcohol Ink Art
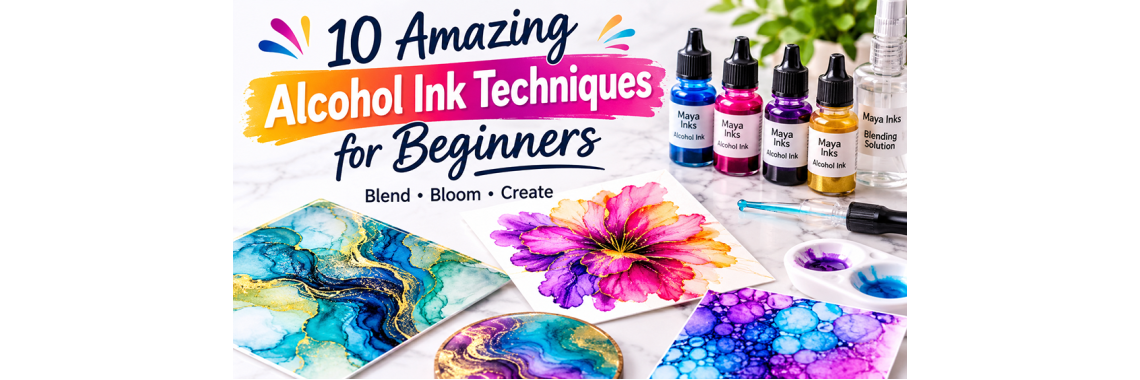
By Mukund Kishor - 19/11/2026 - 0 comments
Have you ever seen colourful paintings with flowing patterns, beautiful colour transitions and fascinating abstract effects? These stunning creations are often made using alcohol inks, one of the most exciting and versatile materials in modern fluid art.
Alcohol ink painting is perfect for beginners because you don't need advanced painting skills to create beautiful artwork. With a few colours, a suitable surface and some creativity, you can produce unique designs every time.
Whether you want to create abstract paintings, colourful flowers, marble effects, greeting cards or decorative artwork, alcohol inks offer endless creative possibilities.
In this guide, we will explore 10 amazing alcohol ink techniques for beginners, along with the materials required, practical tips and common mistakes to avoid.
What Is Alcohol Ink Art?
Alcohol ink art is a fluid painting technique that uses highly pigmented, alcohol-based liquid colours to create flowing patterns and abstract designs.
Unlike traditional watercolour or acrylic painting, alcohol inks move freely across non-porous surfaces. They can be blended, layered, diluted and manipulated to create beautiful organic effects.
Alcohol inks are particularly popular for:
- Abstract fluid paintings
- Alcohol ink flowers
- Marble and stone effects
- Decorative backgrounds
- Resin art
- Greeting cards and creative crafts
- Jewellery and home décor
Materials Required for Alcohol Ink Painting
Before starting, arrange the following materials:
- Alcohol inks: Choose a selection of vibrant colours.
- Blending solution: Helps dilute colours and create flowing effects.
- Yupo paper: A smooth, non-porous synthetic surface suitable for alcohol ink artwork.
- Droppers or pipettes: For controlled ink application.
- Soft applicator or brush: Useful for certain techniques.
- Protective gloves: Help prevent staining your hands.
- Protective covering: Protect your working table.
Work in a well-ventilated area, keep alcohol inks and blending solutions away from flames and ignition sources, and follow the product safety instructions.
10 Amazing Alcohol Ink Techniques for Beginners
1. Basic Dropping Technique
This is one of the easiest ways to start alcohol ink painting.
How to do it:
- Place a few drops of alcohol ink on Yupo paper.
- Add another colour beside or slightly over the first.
- Allow the colours to spread naturally.
- Add a few drops of blending solution if you want more movement.
- Tilt the paper gently to guide the ink.
Creative effect: Beautiful organic patterns and colourful abstract backgrounds.
Beginner tip: Start with two complementary colours instead of using too many colours at once.
2. Blending Technique
Blending is one of the most important skills in alcohol ink art. It allows you to create smooth colour transitions and attractive gradients.
How to do it:
- Apply two or three colours to the surface.
- Add a small amount of blending solution.
- Allow the colours to move towards each other.
- Tilt the surface gently to encourage blending.
- Repeat until you achieve the desired appearance.
Creative effect: Soft gradients, flowing colour transitions and dreamy backgrounds.
Beginner tip: Add blending solution gradually. Too much can make colours spread excessively and reduce colour intensity.
3. Alcohol Ink Bloom Technique
The bloom technique creates beautiful circular patterns that resemble flowers, petals or organic cells.
How to do it:
- Place a few drops of alcohol ink on your surface.
- Allow the ink to spread.
- Add a small amount of blending solution to the centre or selected area.
- Observe how the liquid pushes the colour outward.
- Experiment with different colours and quantities.
Creative effect: Flower-like blooms and interesting organic patterns.
Beginner tip: Experiment with different ink quantities and surface angles to discover different bloom shapes.
4. Layering Technique
Layering is a wonderful way to create depth and complexity in alcohol ink paintings.
How to do it:
- Apply your first colour layer.
- Allow the alcohol to evaporate and the layer to dry.
- Add another colour over selected areas.
- Introduce small amounts of blending solution if required.
- Continue building layers until you achieve the desired composition.
Creative effect: Rich colours, overlapping patterns and greater visual depth.
Beginner tip: Allow sufficient drying between layers to maintain better control over your design.
5. Marble Effect Technique
Marble effects are among the most popular applications of alcohol inks. They can create patterns inspired by natural stone, marble and agate.
How to do it:
- Choose two or three contrasting colours.
- Apply small drops of ink across the surface.
- Add blending solution selectively.
- Tilt the surface slowly to create flowing lines.
- Allow some areas to remain darker for contrast.
Creative effect: Natural-looking marble veins and luxurious abstract patterns.
Beginner tip: Use white or metallic accents sparingly to create highlights.
6. Alcohol Ink Flower Technique
You can create beautiful floral artwork without traditional brushes or advanced drawing skills.
How to do it:
- Apply a small amount of ink to your surface.
- Add blending solution to encourage spreading.
- Guide the colour outward to form petal-like shapes.
- Repeat around a central point.
- Introduce a darker shade near the centre for contrast.
- Add fine details after the composition dries.
Creative effect: Abstract roses, floral patterns and colourful botanical artwork.
Beginner tip: Practise individual petals before attempting a complete flower composition.
7. Metallic Alcohol Ink Technique
Metallic accents can make alcohol ink artwork look elegant and premium.
Gold, silver and other metallic effects can add contrast to colourful backgrounds.
How to do it:
- Create a colourful alcohol ink background.
- Allow the base layer to dry.
- Apply small amounts of metallic ink.
- Guide the metallic accents along selected patterns.
- Allow the artwork to dry completely.
Creative effect: Luxury-inspired abstract paintings with shimmering highlights.
Beginner tip: Avoid excessive metallic application. A few carefully placed highlights can make a stronger visual impact.
8. White Sinker Technique
White sinker ink is used in certain alcohol ink and resin art applications to create interesting contrasting effects and layered patterns.
How to do it:
- Prepare a colourful alcohol ink background.
- Allow the colours to settle.
- Introduce small amounts of white sinker ink.
- Observe how the white colour moves in relation to the other inks.
- Experiment with different quantities and application sequences.
Creative effect: Contrasting white patterns, interesting movement and layered visual effects.
Beginner tip: Test the technique on a small surface first because the result depends on the ink formulation and application method.
9. Blown Ink Technique
The blown ink technique uses controlled airflow to move alcohol inks across a surface.
Alcohol Ink, Alcohol Ink Art, Alcohol Ink Techniques, Fluid Art, Resin Art, Painting for Beginners, Maya Inks